Schedule
To create and manage a schedule trigger.
The built-in LOC scheduler periodically invoke executions based on schedule triggers. A data process runs on schedule is equivalent to a ETL batch job.
Create a Schedule
- LOC Studio
- In LOC Studio, go to Trigger ➞ Scheduler.

- Click Create Schedule on the top right.

- Fill in the fields in the schedule creation window.
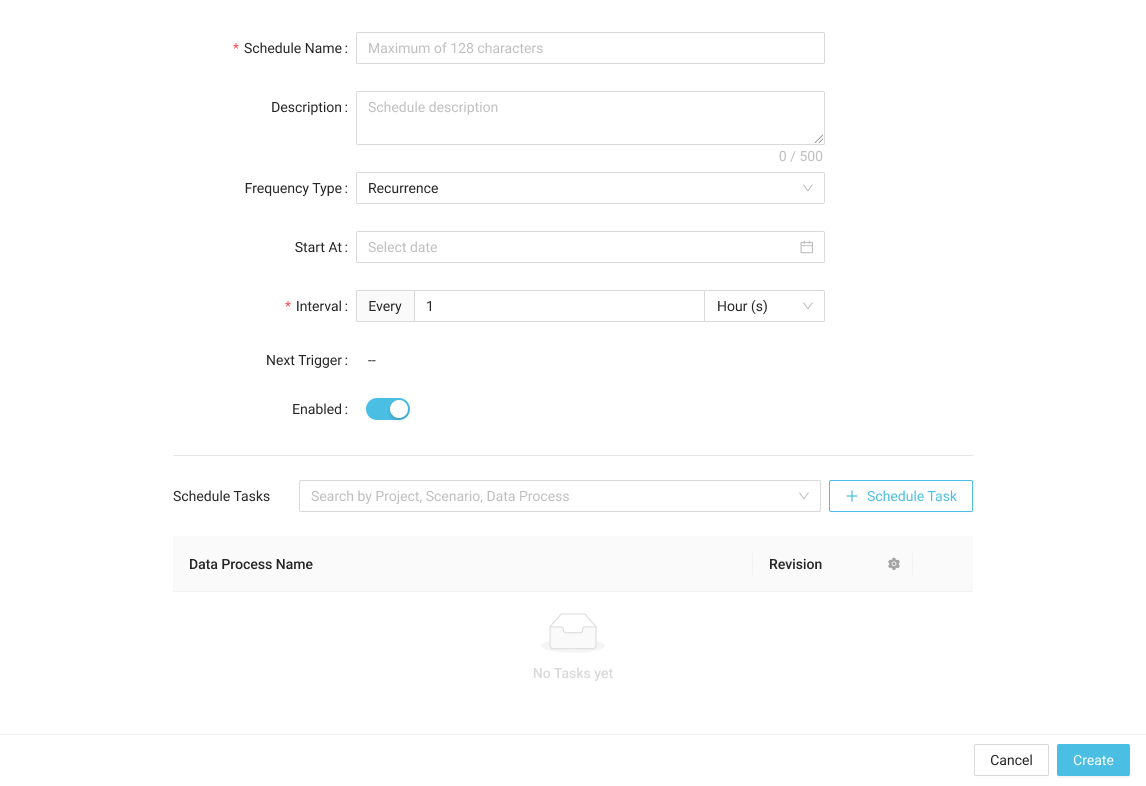
Schedule Fields Description
| Field | Required? | Description |
|---|---|---|
| Schedule Name | Yes | Schedule name (up to 128 characters) |
| Description | No | API route description |
| Frequency Type | Yes | Schedule type (Recurrence or Crontab) |
| Start At | Yes (Recurrence type only) | Start triggering after the datetime |
| Interval | Yes (Recurrence type only) | Triggering interval |
| Crontab fields | Yes (Crontab type only) | Cron expression fields |
| Enabled | Yes | Enable schedule after creation |
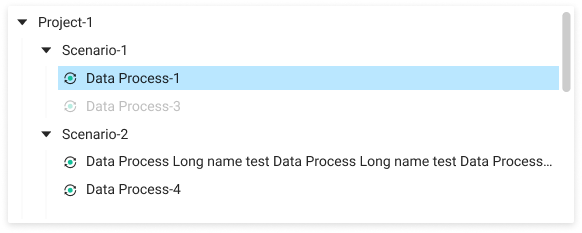
| Schedule Tasks | Yes | Data processes to be linked |
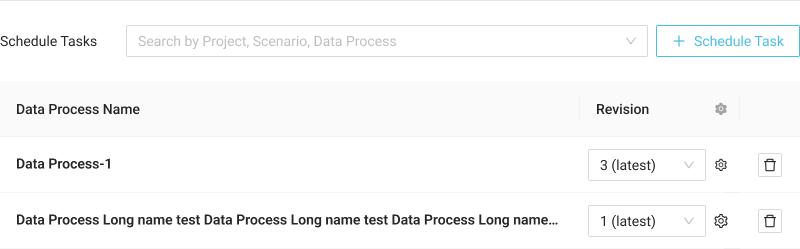
- Search data processes and click + Schedule Task to link them.
- Fof the linked data processes, you can also quickly select the latest revision
 or delete
  them.
them.
- Click Create to create the schedule.
Skipping Schedule
For a schedule trigger, if the tasks of the previous execution could not finish in time, the next scheduled execution will be skipped.
Manually Trigger a Schedule
To execute a data process without using an actual schedule, see Manual Execution.
- LOC Studio
-
Click on the name of a schedule.
-
Click Run Schedule
 on the top right.
info
A schedule can only be triggered manually when enabled.
Enable or Disable a Schedule
- LOC Studio
Edit or Delete a Schedule
- LOC Studio
-
Click on the name of a schedule.
-
Click Edit Schedule
 or Delete Schedule
  on the top right.