Manage Configuration
To create an agent configuration in LOC.
Create an Agent Configuration
- LOC Studio
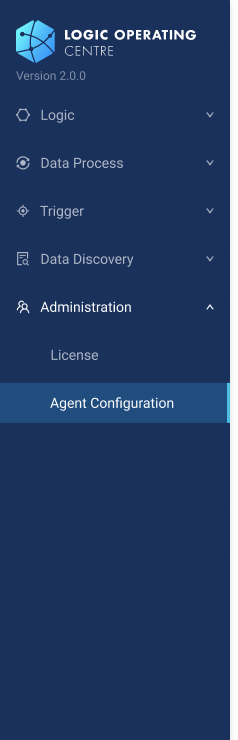
- In LOC Studio, go to Administration ➞ Agent Configuration.
- In the agent configuration explorer, click Create Agent Configuration Folder on the top right, or right-click on the topmost unit select the same option.

or

- Select a folder and click Create Agent Configuration on the top right, or right-click a folder and select the same option.
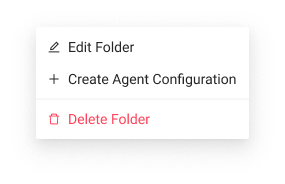
or

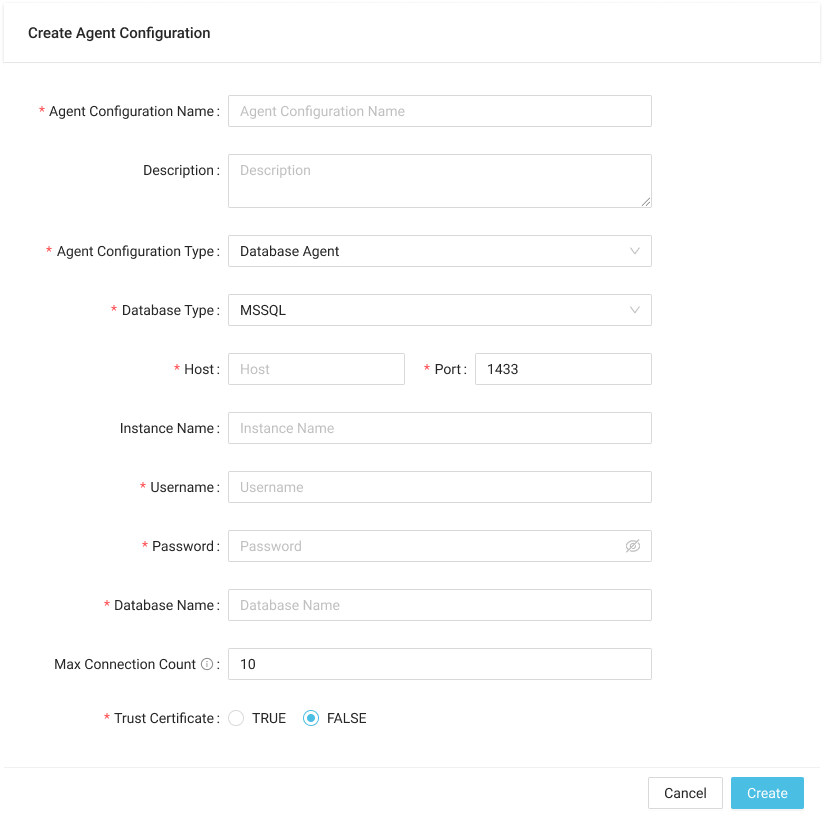
- Fill in the fields of the agent configuration. Change the configuration type if needed. Below is the creation window of a database configuration:
Agent Configuration Fields Description
| Field | Required? | Description |
|---|---|---|
| Agent Configuration Name | Yes | Agent configuration name (up to 128 characters) |
| Description | No | Data process description |
| Agent Configuration Type | Yes | For HTTP, Database, File Storage or Mail Agents |
- HTTP
- Database
- File Storage
| Additional Field | Required? | Description |
|---|---|---|
| Protocol Type | Yes | HTTP or HTTPS |
| Host | Yes | HTTP server URL |
| Port | Yes | HTTP port (usually 80 for HTTP and 443 for HTTPS) |
| Authorization | No | Authorization header type: No Auth, Basic or Bearer |
| Header | No | Additional headers |
| Path Prefix | No | Path to be added before all paths from HTTP agent |
tip
You can add the server path of your LOC instance as a HTTP agent configuration. This enables a data process to invoke another with HTTP requests (if the latter data process is linked to an API route).
| Additional Field | Required? | Description |
|---|---|---|
| Database Type | Yes | Database type |
| Host | Yes | Database server URL |
| Port | Yes | Database server port |
| Username | Yes | Database server username |
| Password | Yes | Database server password |
| Database Name (SQL Server, MySQL and PostgreSQL) | Yes | Database name |
| Instance Name (SQL Server) | No | SQL Server instance name |
| Service Name (Oracle DB) | Yes | Oracle DB service name |
| Max Connection Count | Yes | Must larger than 1 |
| Trust Certificate (SQL Server) | Yes | Default False |
| Options (PostgreSQL) | No | Additional PostgreSQL options |
| Extra Parameter (Oracle DB) | No | Additional Oracle DB parameters |
| Additional Field | Required? | Description |
|---|---|---|
| Protocol Type | Yes | File server protocol type |
| Host | Yes | File server URL |
| Port | Yes | File server port |
| Username | Yes | File server username |
| Password | Yes | File server password |
| Path Prefix | No | Path to be added before all paths from file storage agent |
| Additional Field | Required? | Description |
|---|---|---|
| Protocol Type | Yes | Email server protocol type |
| Host | Yes | Email server URL |
| Port | Yes | Email server port |
| Username | Yes | Email server username |
| Password | Yes | Email server password |
- Click Create to create the configuration.
Edit or Delete an Agent Configuration
- LOC Studio
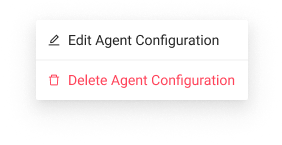
Select a configuration and click Edit Agent Configuration  or Delete Agent Configuration
  on the top right, or right-click on a configuration and select the same option.
Edit or Delete an Agent Configuration Folder
- LOC Studio
Select a configuration folder and click Edit Folder or Delete Folder on the top right, or right-click on a folder and select the same option.